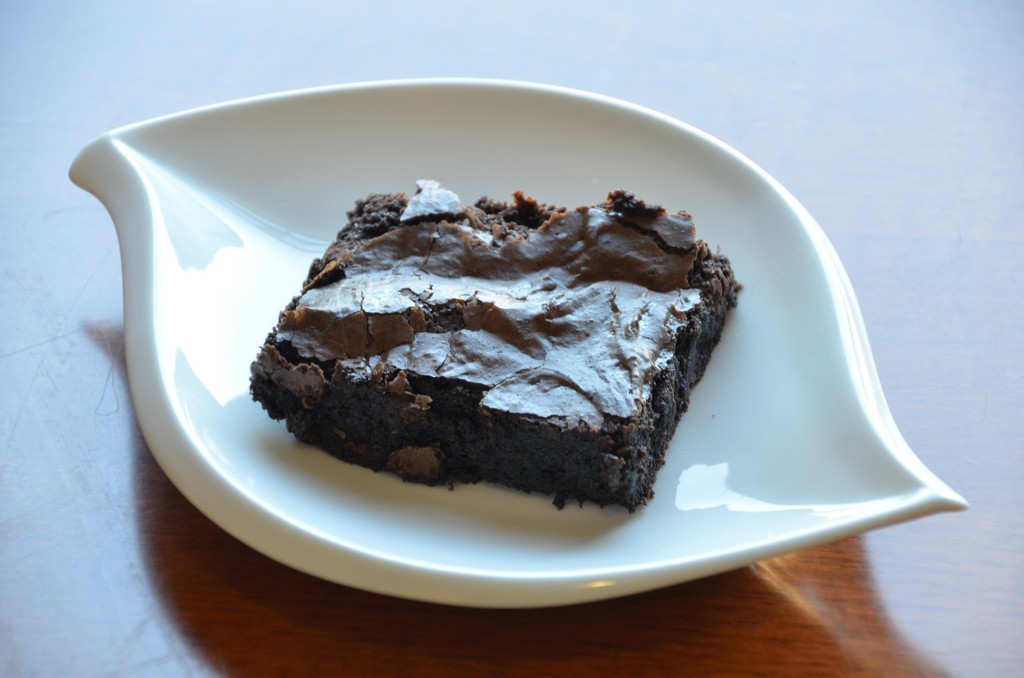
A warm pan of rich, chocolate brownies is a winter essential. And being gluten free shouldn’t get in the way. I have retooled my recipe for the classic brownie to make an equally delicious treat.
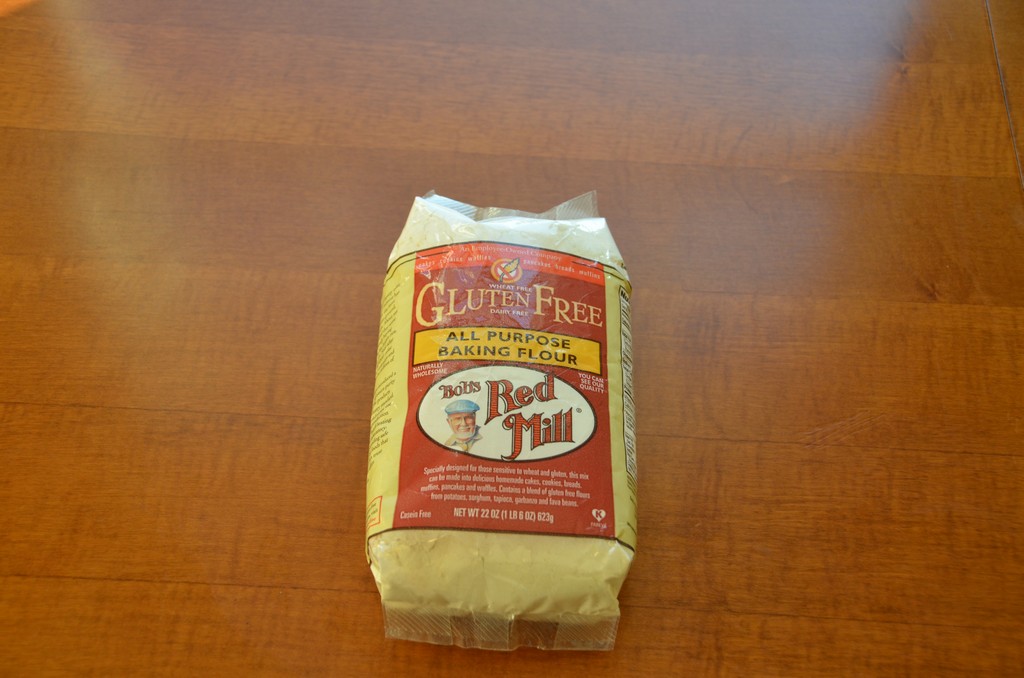
The great homemade brownie has become a lost art that I am working to reclaim. And I worry that as more and more people avoid gluten, they’ll end up avoiding a recipe that doesn’t actually need gluten. To adapt this recipe from the original only two changes needed to be made. The obvious one is that the wheat flour has been replaced with gluten free all-purpose flour. The other less obvious change is the addition of xanthan gum to help provide structure to the batter.

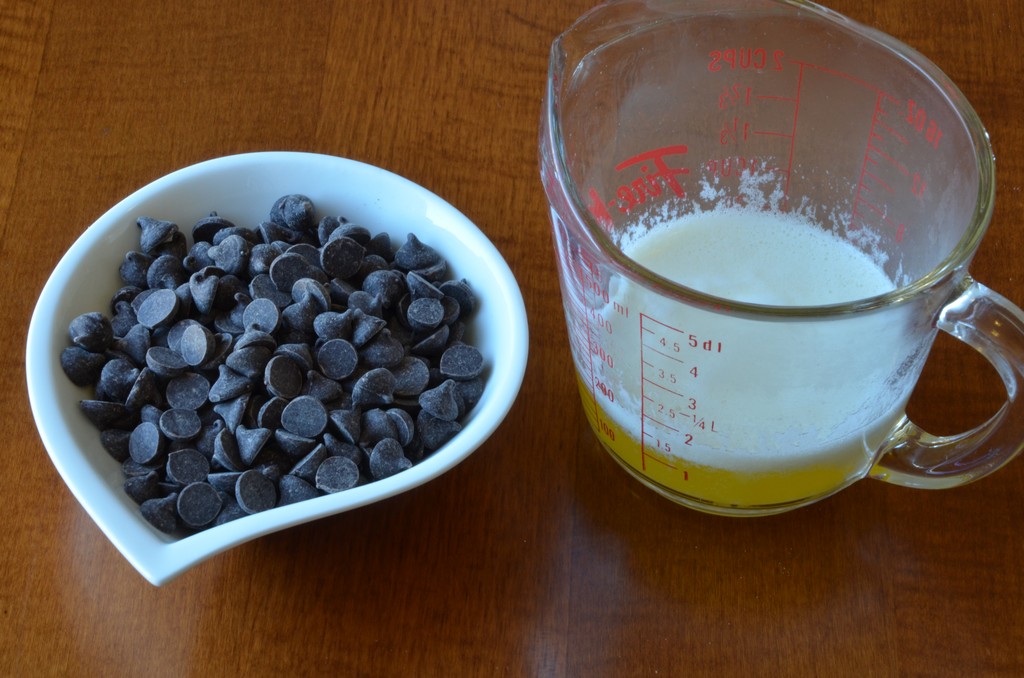
Step 1: Melt The Chocolate
Keep in mind that a great brownie is all about the chocolate, so spend a little extra and reward yourself with high quality product. This step is normally done by placing the butter and chocolate over a double boiler, but I hate those. They are messy, awkward, and prone to failure. For this version I used a microwave, by first melting the butter until it frothed up. Then adding the chocolate to the hot butter and letting it sit, untouched. The heat from the butter will melt the chocolate while you work on step two. This can also be done on the stove by melting the butter in a small sauce pan.
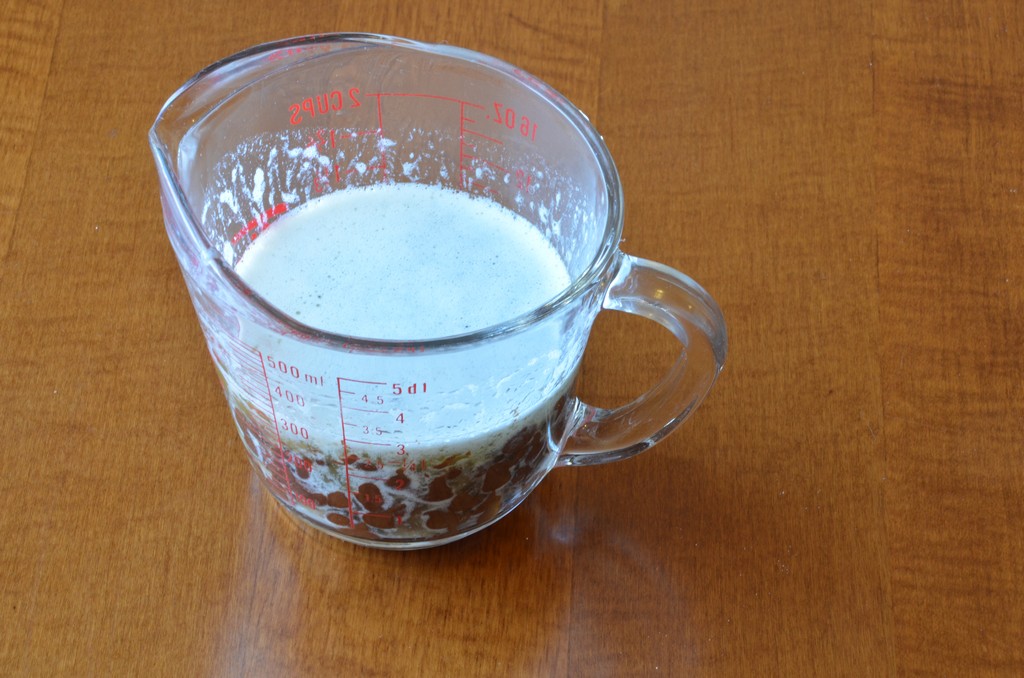
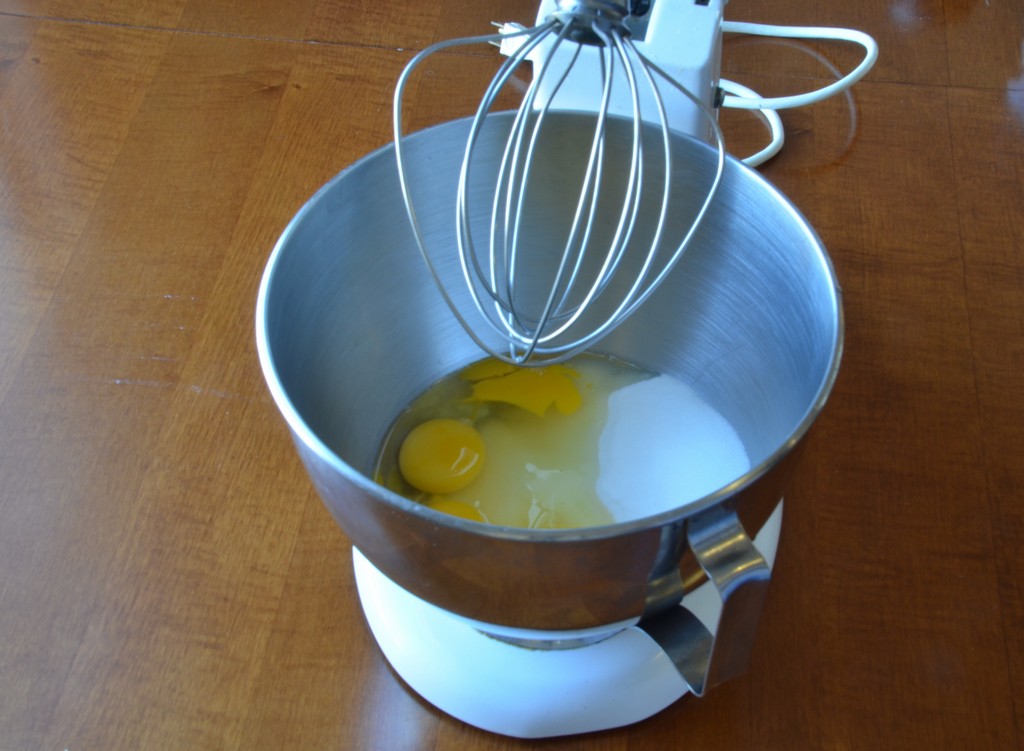
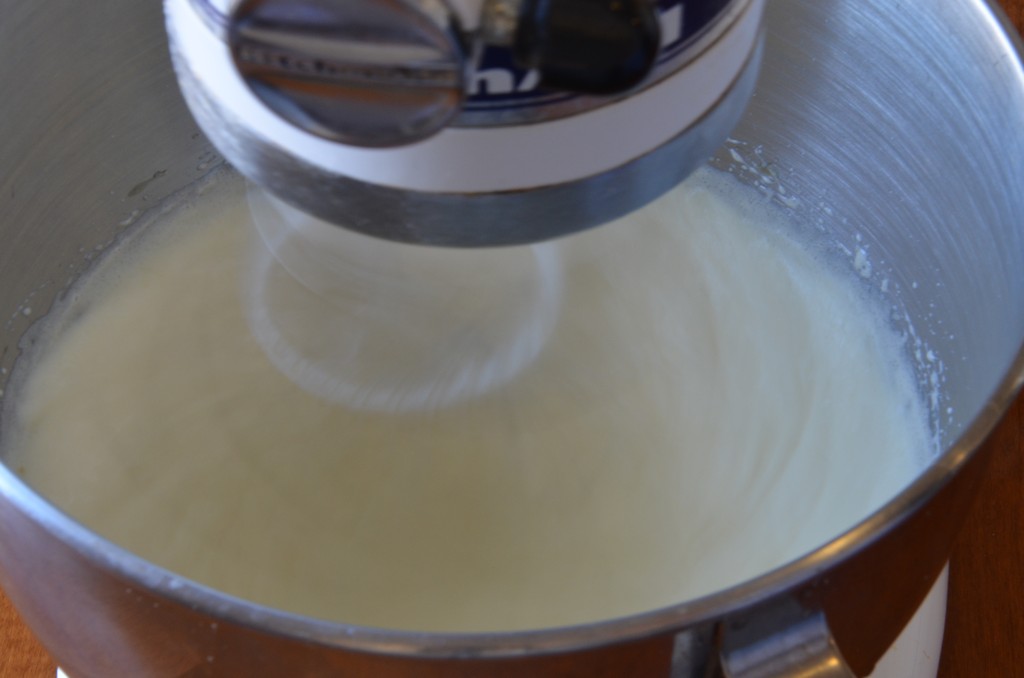
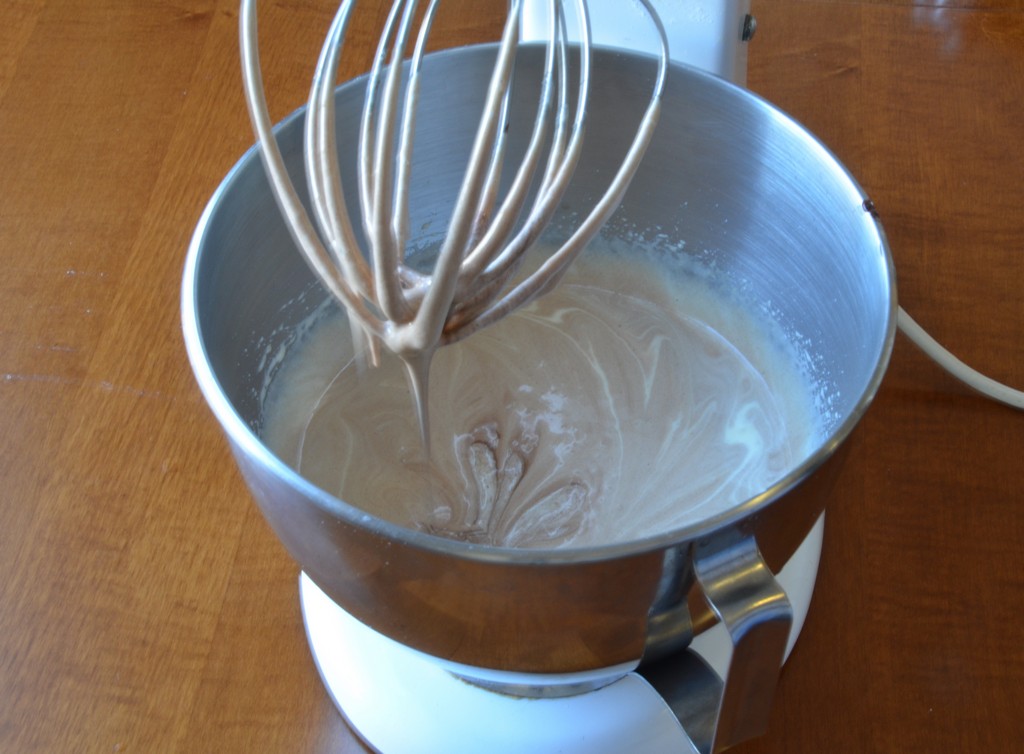
Step 2: Whip The Eggs
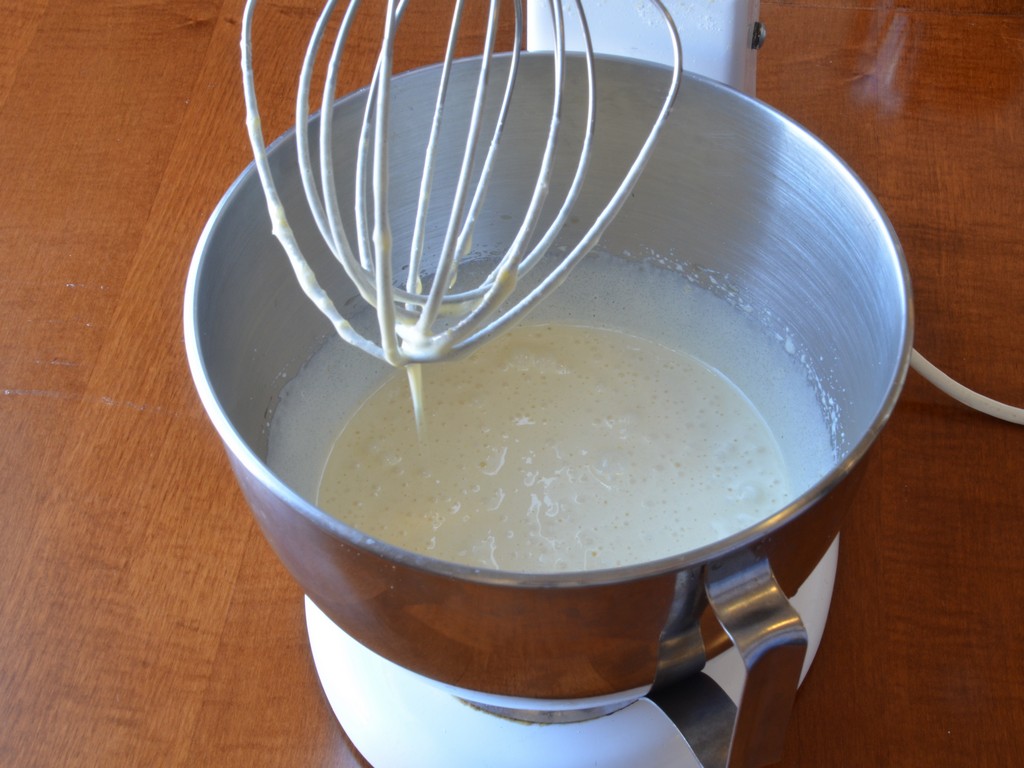
Using an electric mixer, whip the eggs, vanilla, and the sugar until they begin to get pale and fluffy, then whip a little longer. This is where the magic happens; the process of whipping the eggs with sugar will incorporate air (like making a meringue). Those tiny bubbles are what will provide leavening, which is why this recipe doesn’t use baking powder or soda. This will take a few minutes, so while the mixer is running move on to step 3.
Step 3: Combine The Dry Ingredients
Stir together the flour, cocoa, espresso powder, and salt. I recommend sifting the dry ingredients for two reasons: First it adds air making it easier to incorporate. Secondly, it catches the larger lumps that won’t mix in.
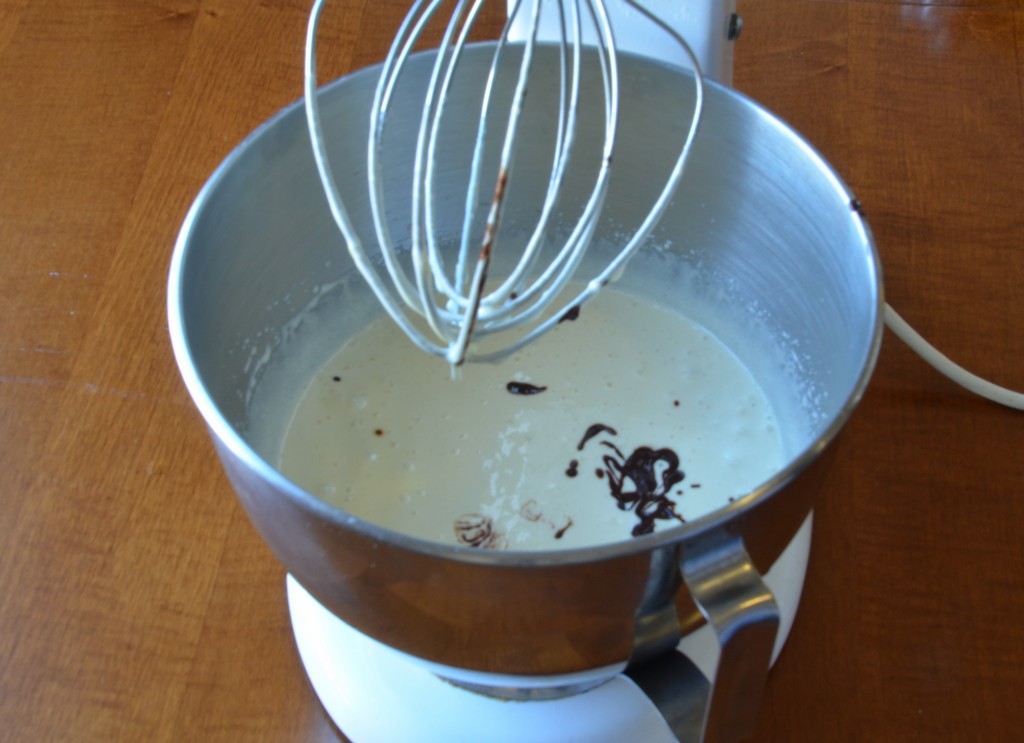
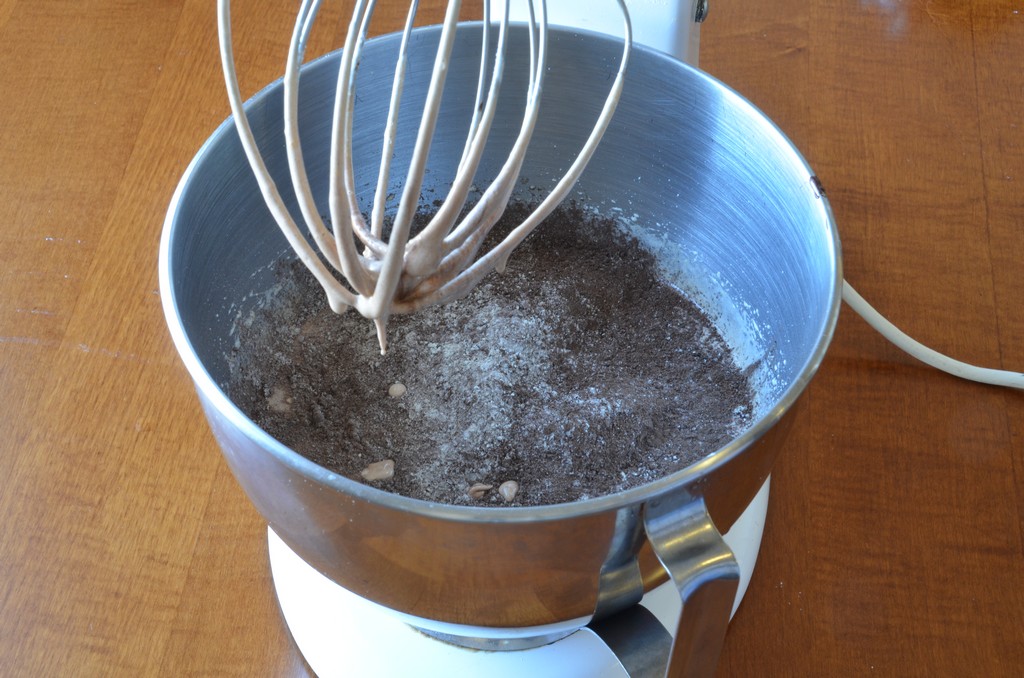
Step 4: Fold It All Together
By this point, the eggs are light and frothy. The chocolate is completely melted. And the dry mix is standing by ready for action. But we need to make one small departure from the original process by adding the xanthan gum to the eggs, and whipping until thoroughly combined. Now you can add the chocolate to the eggs and mix until almost combined. Then gently fold in the flour mixture. I prefer to do this by hand because I don’t want to destroy the bubbles I worked so hard to create.
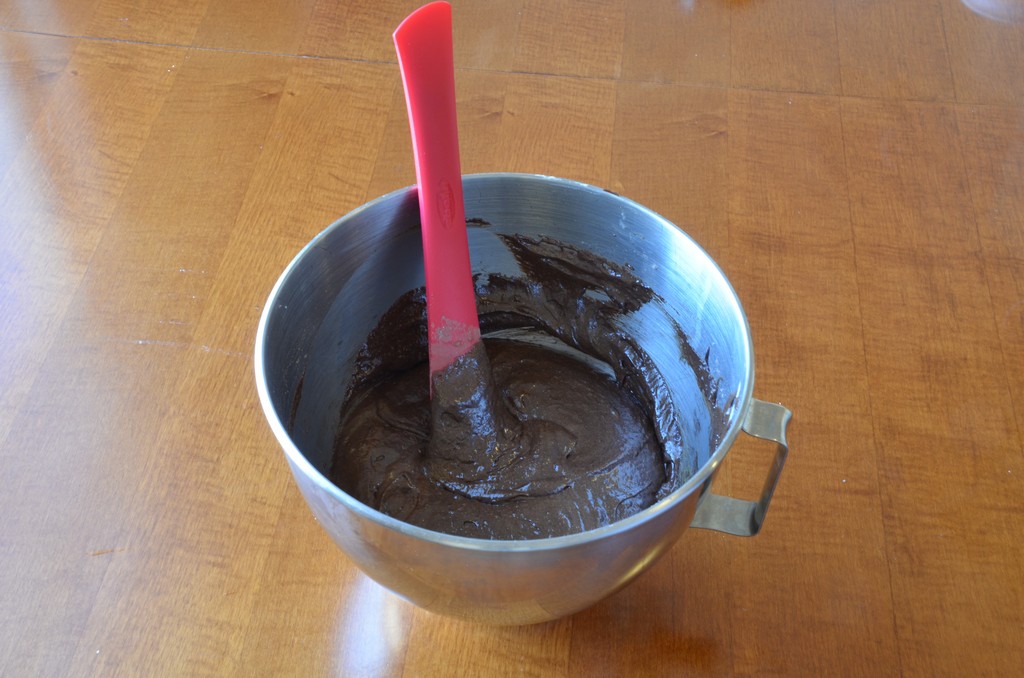
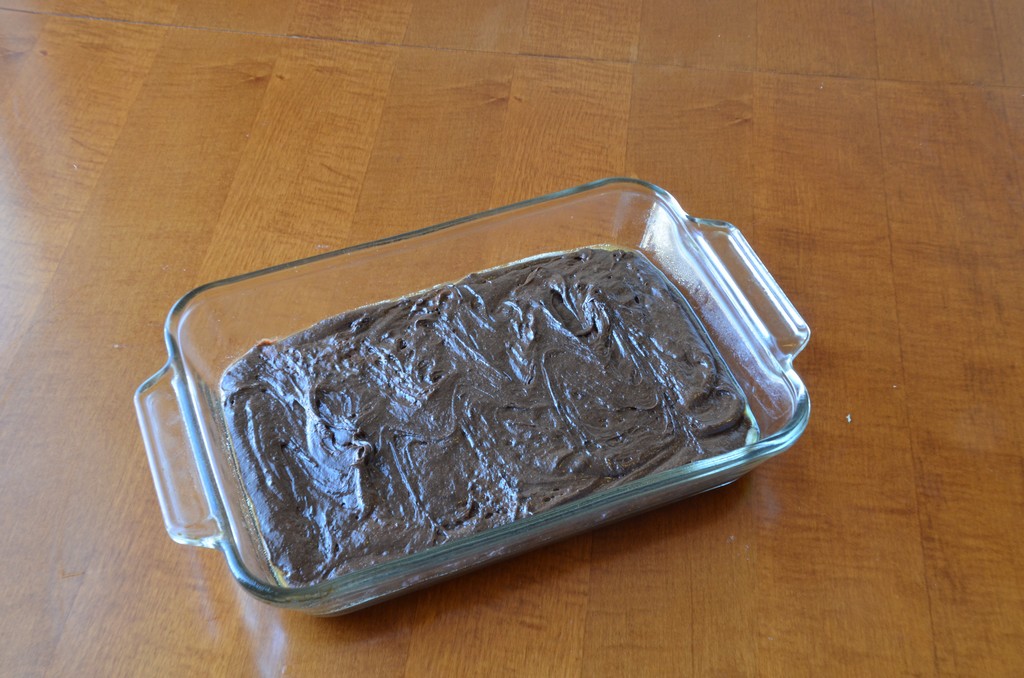
That’s it. Pour into a prepared pan and bake until the edges just begin to set, but the middle is still a little soft. Cool in the pan completely before cutting.
If you are in the Bay area, and want to feature delicious chocolate brownies at your next event, contact me to schedule a tasting.
Gluten Free Chocolate Brownies
- 1 stick of unsalted butter (110g)
- 6 ounces good quality dark chocolate, chopped into pieces (170g)
- 1 ½ cups sugar (300g)
- 3 large eggs
- 1 teaspoon vanilla
- ½ teaspoon xanthan gum
- ½ cup plus 2 tablespoons gluten free all-purpose flour, sifted (85g)
- ¼ cup unsweetened cocoa powder (21g)
- 1 tablespoon espresso powder (or instant coffee), optional
- ½ teaspoon salt
- Preheat oven to 350F (175C).
- In a small saucepan over medium heat, melt the butter until it bubbles. Remove from heat, add chocolate, and set aside for later. This can also be done using the microwave, and a glass bowl.
- Combine sugar, eggs, and vanilla in a large mixing bowl or stand mixer. Whip until light and fluffy.
- Add the xanthan gum to the eggs and continue to whip until fully incorporated.
- Sift together dry ingredients (flour, cocoa, salt, and espresso if using).
- Add the melted chocolate to to the eggs and whip to combine.
- Fold in the dry ingredients.
- Pour into a greased pan and bake for 35-40min, until edges are set but middle is still a little soft.
- Let cool in the pan before cutting.